1A The house and the score
Explain which stones count after an end.
Read the short introduction, then move stones in the Scoring Playground. Compare a clear one-point end, a two-point end and a blank.

HouseCall curriculum
A learning path for new curlers, improving teams and the people who teach them.
Stages are learning goals, not fixed weeks. Revisit, split or combine them according to the learner, ice access and instructor judgement.
Start at the stage that fits you. Knowledge checks help you review; your club instructor assesses safe on-ice readiness. This is not an instructor certification.
Download the 24-page instructor workbook (PDF)
Knowledge checks: 0 of 8 stages reviewed in this visit.
Answers stay in this page during this visit. No account is needed.
Stage 1 of 8
Recognize the target, the score and the jobs on a four-player team.
Before you start: None. This stage can be completed off ice.
Explain which stones count after an end.
Read the short introduction, then move stones in the Scoring Playground. Compare a clear one-point end, a two-point end and a blank.
Describe delivery, sweeping, calling and the vice-skip’s role.
Point out who delivers, who watches weight and who directs the house. Read one club scoreboard and one TV-style scoreboard.
Use the Scoring Playground or paper counters. Each learner explains one completed end and takes a turn naming the next player’s job. No ice is required.
Instructor observes: Correctly count two clear example ends; identify who manages the house when the skip delivers. If unsure, repeat with fewer stones.
Teaching note: Start with the nearest eligible stone rather than the ring colours. Do not infer role from who throws last.
Pause an authentic four-player end after its final stone. Identify the score and hammer using the broadcast display; name only roles actually visible.
Use an official recording you can play. Confirm the end, score, hammer and historical rules before drawing conclusions. Do not invent a stone layout from a written report.
Stage 2 of 8
Prepare for a supervised first session and make a controlled attempt toward a named target.
Before you start: Stage 1 knowledge is helpful. Any on-ice work requires club instruction, suitable equipment and a safety briefing.
Know when to enter, move, wait and reset.
Use the first-session checklist. Ask the instructor to demonstrate entry, exit, gripper use, the stop signal and the waiting spot. Rehearse without moving stones.
Make one supervised delivery attempt to an agreed broad target.
Use the club’s taught slide or delivery-stick method. Name or point to the target, wait for a clear lane and the instructor’s signal, make one attempt, then describe what happened.
Reuse the existing Club Lesson Plans, especially preparation on page 1 and the adaptable 75-minute session on page 2. Keep the safety briefing, supervised movement and exit even when shortening the session. There are no first-session takeouts.
Instructor observes: The club instructor observes equipment checks, the agreed route, waiting position and response to the stop signal, then authorizes the participant’s next activity. The learner names a target and describes one controlled attempt.
Teaching note: Offer seated, observer, caller, delivery-stick or off-ice participation as appropriate. The learner’s agreed goal matters more than a standard body position or pace. Do not use a website score to decide physical readiness.
Watch a clear delivery and identify the intended target and team roles. Broadcast footage cannot demonstrate that a beginner is safe to deliver; keep practical instruction with the club.
Use an official recording you can play. Confirm the end, score, hammer and historical rules before drawing conclusions. Do not invent a stone layout from a written report.
Stage 3 of 8
Notice where a stone travels, where it stops and what job it is meant to do.
Before you start: Stages 1–2; instructor approval for each physical activity.
Distinguish a stone’s path from its finishing depth.
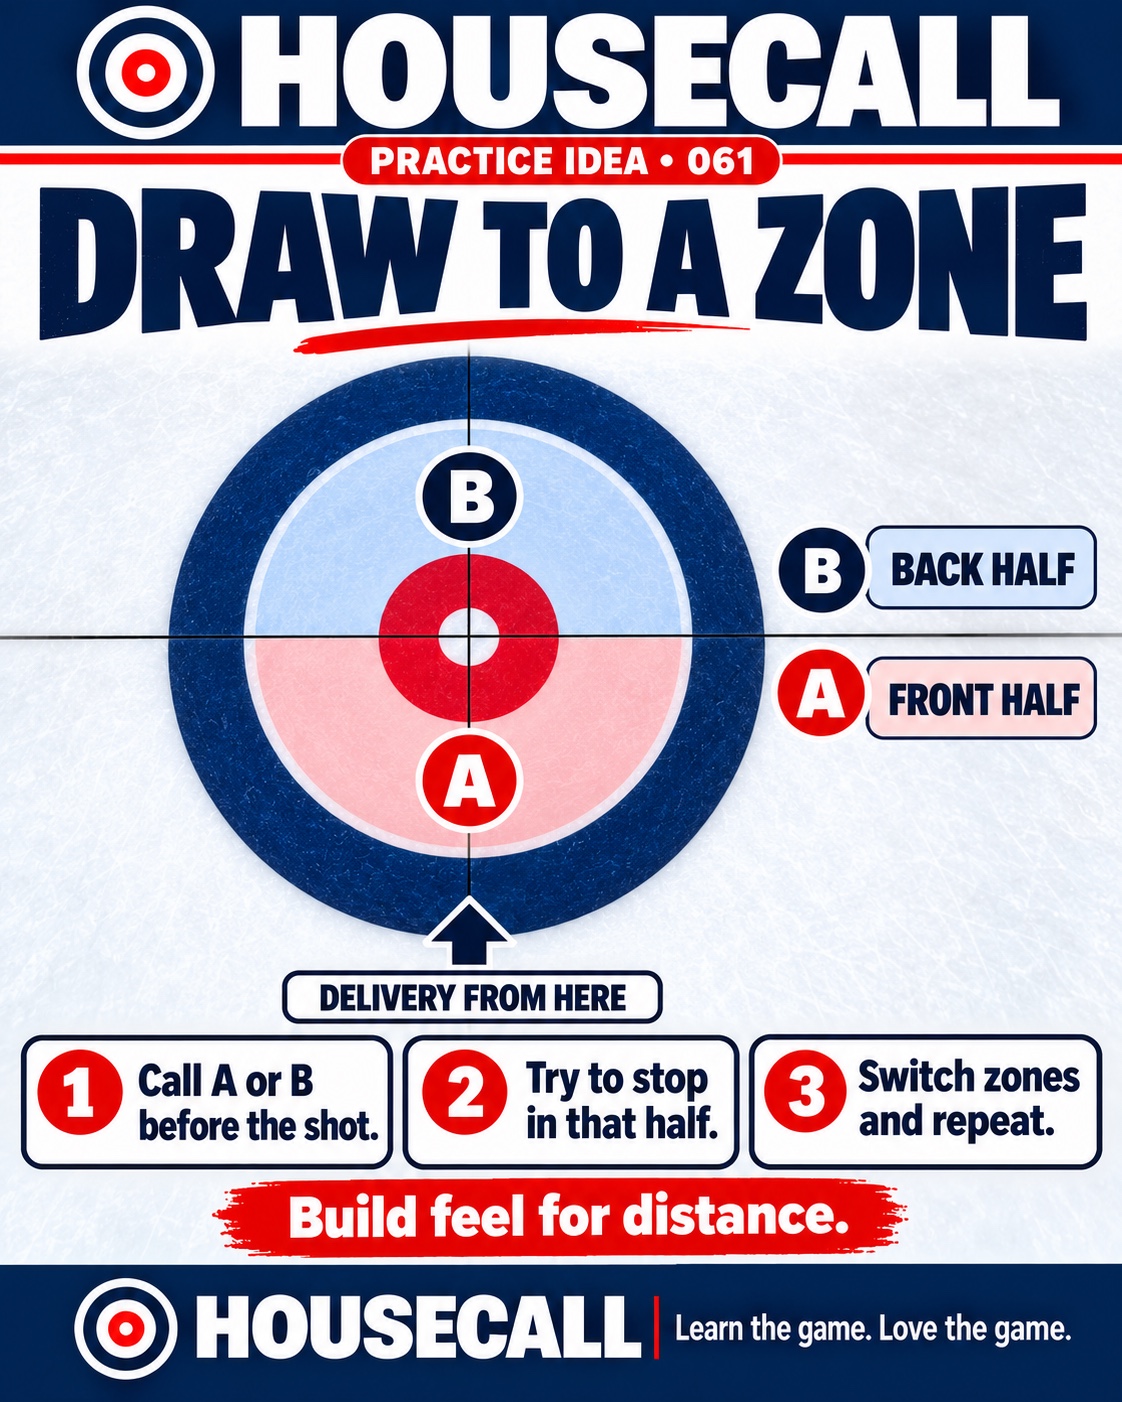
Run the existing wide-doorway and stopping-zone stations. Record four attempts using left/in/right and short/in/long. Repeat with a broad, fixed target before increasing difficulty.
Explain the purpose of a draw, guard and takeout.
Compare the authored Shot Simulator examples. Place a guard in the Guard Playground and name one route it makes harder and one route still open. Takeouts remain a coached extension for ready players.
Use practice stations 1, 2 and 4. Keep line and depth records separate; invite one instructor-taught adjustment. Generate a line/delivery or draws/weight plan for a repeat visit.
Instructor observes: Complete four honestly recorded attempts, distinguish line from stopping depth, and explain whether a draw or guard achieved its stated goal. An arbitrary shooting percentage is not a readiness standard.
Teaching note: Observer and caller roles preserve the same learning goal. The simulator’s route is an illustration, not a prediction of real stone physics.
Choose a shot with the intended target known from a clear call or broadcaster explanation. Record apparent line and final position separately; mark the target unknown if the footage does not establish it.
Use an official recording you can play. Confirm the end, score, hammer and historical rules before drawing conclusions. Do not invent a stone layout from a written report.
Stage 4 of 8
Keep useful weight and line information flowing while following safe, coached sweeping practice.
Before you start: Stages 1–3; safe movement and sweeping readiness assessed by the club instructor.
Rehearse a shared sweeping vocabulary and clear responsibilities.
Begin stationary, practise start/stop calls, then add slow movement only when approved. Before a delivery, agree the target and who provides each type of information.
Treat split times and weight numbers as contextual estimates.
Read the stopwatch guide. In a supervised calibration drill, record the timing reference, lane, intended target and actual finish; update the estimate aloud as the stone travels.
Reuse beginner station 3, then Practice Planner’s Sweeping & team calls focus. Rotate caller, sweeper and observer after safe stops. The observer records the initial call, any update and the finish.
Instructor observes: Complete three rehearsed exchanges with a clear call, acknowledgement and updated weight report; maintain the instructor’s safe spacing. Explain one reason equal times need not produce equal finishes.
Teaching note: Do not teach a universal sweeper-side or brush-angle rule. Advanced direction-changing techniques require coached legal technique and evidence from comparable conditions. The eight-challenge lab and six advanced decision scenarios are extensions.
Use a real shot with audible calls. Transcribe one actual call, identify whether it concerns line or weight, and note an update. If speech or target is unclear, record unknown rather than inventing it.
Use an official recording you can play. Confirm the end, score, hammer and historical rules before drawing conclusions. Do not invent a stone layout from a written report.
Stage 5 of 8
Apply essential rules and etiquette while knowing when to stop guessing and ask.
Before you start: Stages 1–4 for the full pathway; rule activities can be completed off ice.
Locate the free guard zone and identify which early opposition guards are protected.
Try Is It Still In?, then compare a guard outside the house with a stone touching the house. Count deliveries across both teams, not per team. Read no-tick scope as an extension.
Use fair reporting, agreed scoring and respectful game behaviour.
Discuss a touched moving stone, a close measure and end-of-end cleanup. Practise reporting what was seen without moving stones prematurely or inventing a rule ruling.
Use session two from Club Lesson Plans. Alternate a reduced number of stones, keep draws only and explicitly label these as practice modifications. Agree the score before clearing the house; use tabletop scenarios for protected guards.
Instructor observes: Explain one protected-guard example, report a rule uncertainty without guessing, and agree a practice-end score before reset. Refer the actual ruling to the club lead or official when appropriate.
Teaching note: Baseline: World Curling rules effective 1 September 2026. Confirm the club/event rules. Mixed doubles, wheelchair and recreational stick formats may differ; use the matching format guide.
Choose a verified real incident only when the footage establishes the relevant facts. Record who touched what and where; do not present missing camera coverage as proof of a violation.
Use an official recording you can play. Confirm the end, score, hammer and historical rules before drawing conclusions. Do not invent a stone layout from a written report.
Stage 6 of 8
Connect each shot to the scoreboard, hammer and the next reply.
Before you start: Stages 1–5; confidence reading a simple house and basic shot purposes.
Explain why the same house can justify different risks.
Read the four strategy questions. Compare an early close game, a late lead and a late deficit. State the result that helps before naming the shot.
Plan one shot and one possible reply.
Step through Build an End, making a call at its three decision points before reading the explanation. Record one useful partial and one open route.
Use Skip School Workbook drill 3 on page 15. Keep the house unchanged, then change the score. Each teammate gives a reason for two plausible calls and names the opponent’s likely response when one remains.
Instructor observes: For two positions, state score, end, hammer and desired result; identify one legal, realistic shot and one plausible reply. Accept different defensible calls.
Teaching note: The authored replay follows one fixed end. A choice reveals reasoning; it does not generate a different simulated future or predict real outcomes.
Pause a real end before an early or middle-end call. Record visible game context, propose one call and reply, then watch the actual sequence. Assess reasoning before judging execution.
Use an official recording you can play. Confirm the end, score, hammer and historical rules before drawing conclusions. Do not invent a stone layout from a written report.
When a shot misses: practise Plan B and changing the end goal.
Stage 7 of 8
Compare realistic calls, useful misses and the outcomes your team actually needs.
Before you start: Stage 6; ability to read a house and distinguish end score from final game result.
Describe which imperfect outcomes still help in the specific situation.
Work through the workbook’s tied, down-one and up-one houses. Label the end score and game result separately. Use blank house sheets to sketch two realistic calls.
Interpret the last-rock teaching calculator and its limits.
Change the hypothetical estimates in the calculator. Explain why counting useful partials can change a preference. Write down an unmodelled result instead of forcing it into a convenient category.
Use workbook page 10 with a selected house, then the one-shot worksheet on pages 12–13. Say the shot, turn, target, weight and useful miss before revealing the discussion notes.
Instructor observes: Complete two calls with distinct full/partial/miss descriptions, correct end and game outcomes, and one execution reason. Label any probability as hypothetical or as observed with its sample size.
Teaching note: A team can choose a sound call and execute it poorly, or choose a weak call and get a fortunate result. Evaluate the decision and the execution separately.
Pause a real final-stone decision with scoreboard and house clear. Write two possible calls, their useful misses and expected scoring branches before watching. Do not assign probabilities from a single highlight.
Use an official recording you can play. Confirm the end, score, hammer and historical rules before drawing conclusions. Do not invent a stone layout from a written report.
Stage 8 of 8
Run a repeatable practice, lead a clear call and decide what to improve next.
Before you start: Stages 1–7, or equivalent understanding reviewed with the instructor. On-ice leadership stays within the role the club approves.
Select appropriate drills, roles and time without skipping safety or reflection.
Choose a focus, 2/4/8 players and 30/60/90 minutes in the Practice Planner. Print the result; agree target definitions, rotate roles and record every attempt. Use the workbook’s four-week record for follow-through.
Give a clear call, invite every teammate’s observation and select one next practice goal.
Run a table-top or instructor-approved on-ice capstone using a workbook house. A teammate repeats the shot, target, weight and useful miss. Debrief actual results and plan a realistic next session.
Reuse workbook drill 1 (call and repeat), drill 4 (record before judging), four-week practice record and the Team Debrief. Each participant contributes as caller, player or observer. Complete one loop: intended result, attempt or tabletop outcome, observation, next adjustment.
Instructor observes: Produce a practice plan with one observable goal, agreed attempt definitions and role rotation; give one call another teammate can repeat accurately; complete a debrief with one evidence-based next step and one uncertainty.
Teaching note: This is completion of a HouseCall learning pathway, not instructor certification, competition qualification or a declaration of on-ice competence. Experienced teams may revisit stages in response to their records.
Review a full real end using the same record sheet. Separate what was visibly intended, what happened and what remains uncertain. Convert one observation into a practice question, rather than copying elite technique uncritically.
Use an official recording you can play. Confirm the end, score, hammer and historical rules before drawing conclusions. Do not invent a stone layout from a written report.
Bring your observations to the Practice Planner, keep a team debrief, or explore mixed doubles and other ways to curl.
Instructor Study Companion · Skip’s School workbook · All free printables
Rules reference: World Curling rules effective September 2026. Check your club or competition’s applicable rules.